Import/Export
Robin allows to import and export FTAs in an easy-way. It allows moving a FT between systems of the same project and even between different projects.
The import/export can be performed with two different formats: .ROB (format file native of Robin) and .XML (Compatible with PTC Windchill).
Import
From the FTA home page, select the option Import to be redirected to the import page.
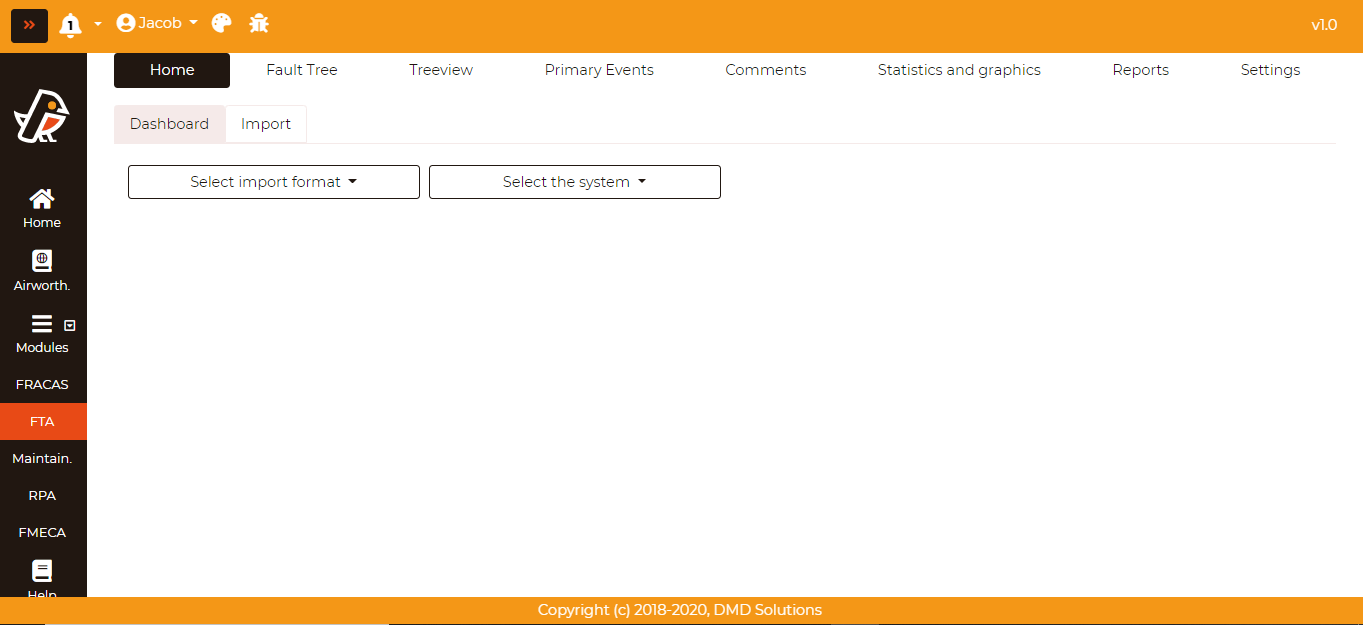
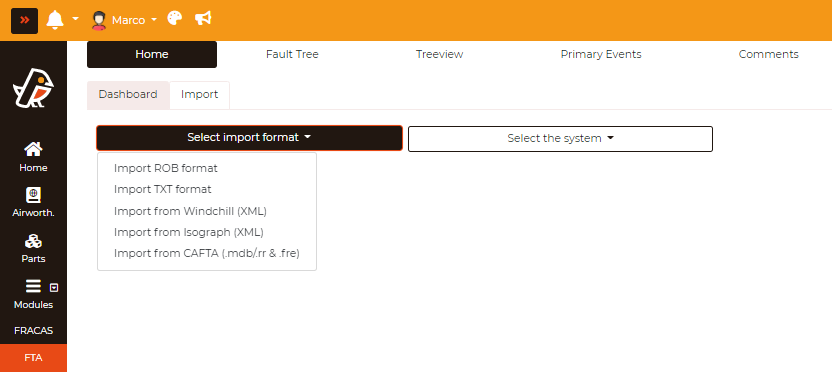
In the first dropdown, select the import format: ROB format (native Robin format), XML format (PTC Windchill or Isograph), CAFTA (.mdb/.rr & .fre), and TXT format.
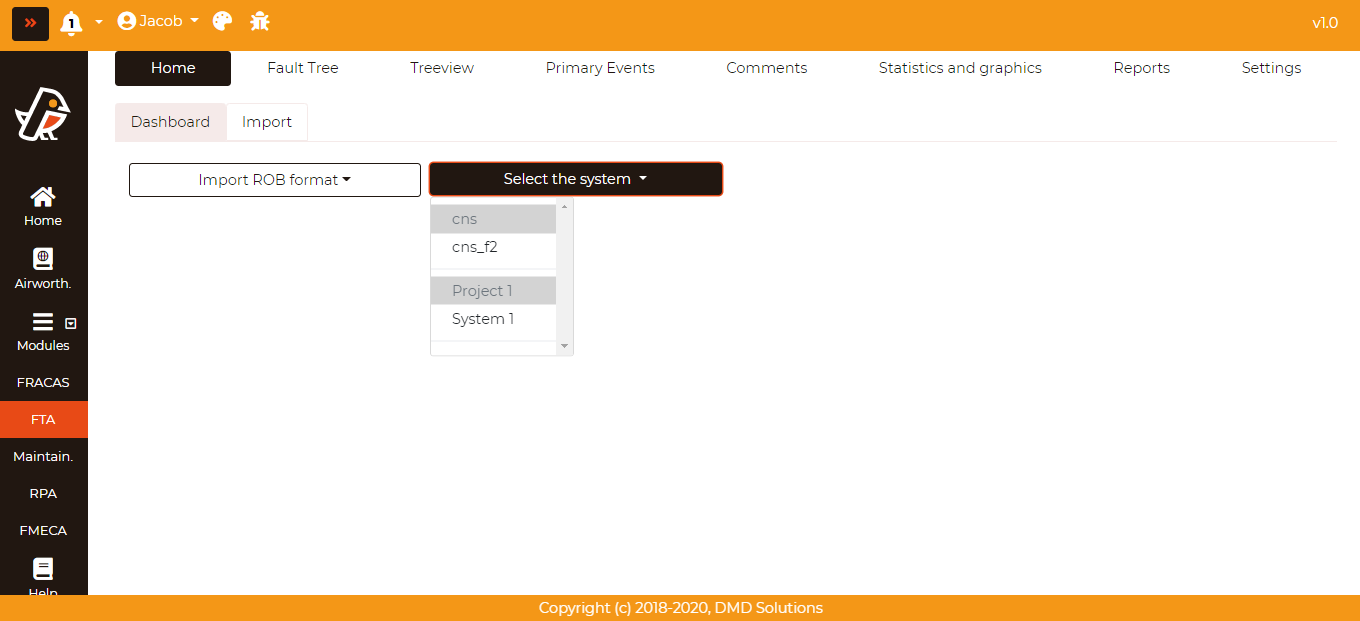
In the second dropdown, select the system where the FTs will be imported.
Click on Choose a File to load the file with the FTs. After loading the file, the button Check Import will appear.
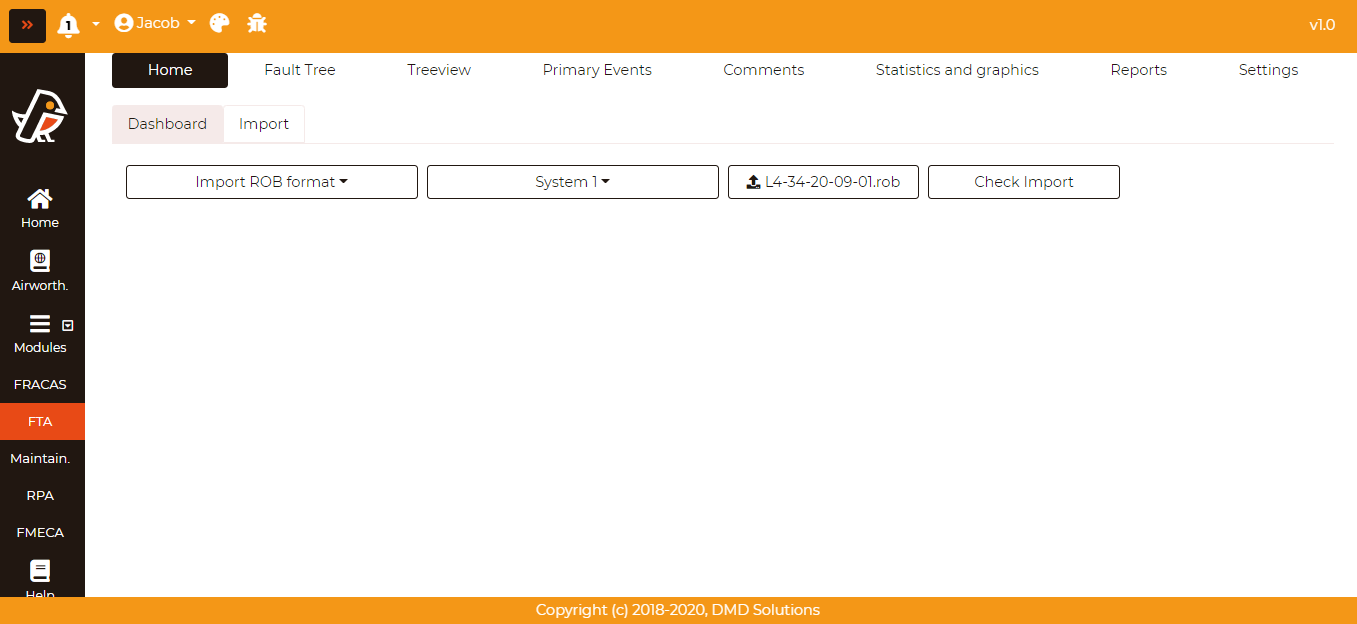
Click on Check import. Robin will read the nodes and it will check if there are nodes with the same ID in the project.
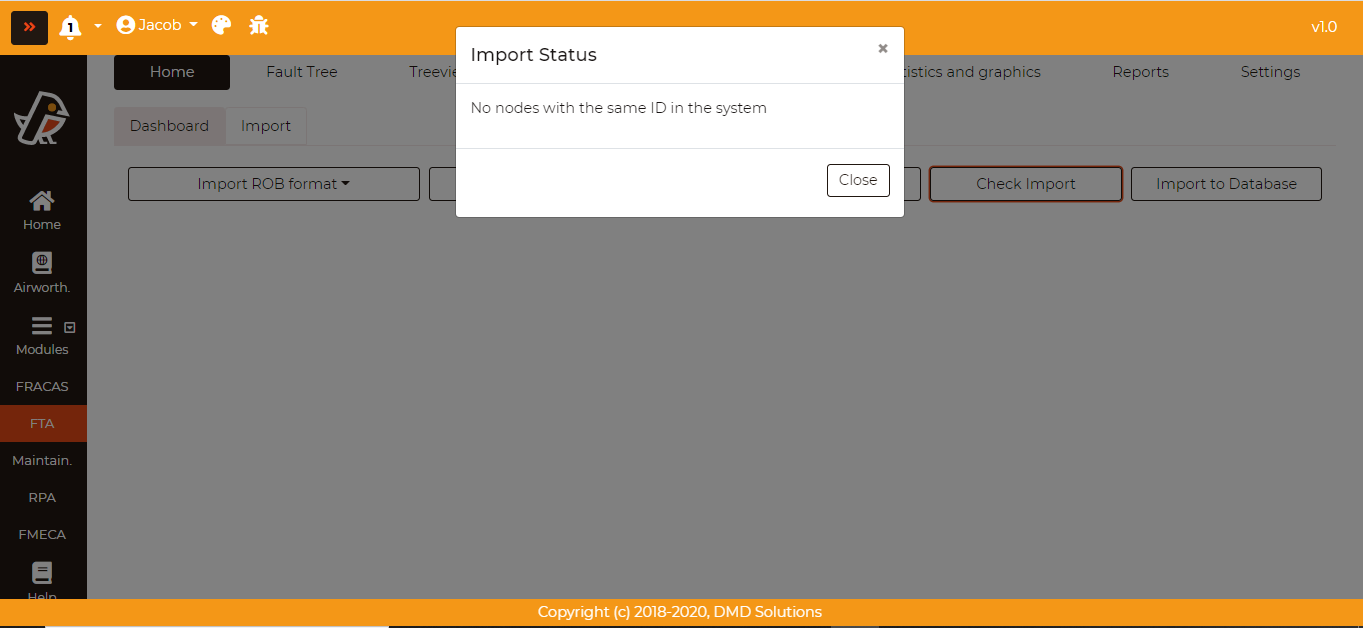
If there are no nodes with the same ID in the project, the following message will appear.
If there are nodes with the same ID in the project, a table with all the existing nodes will appear.
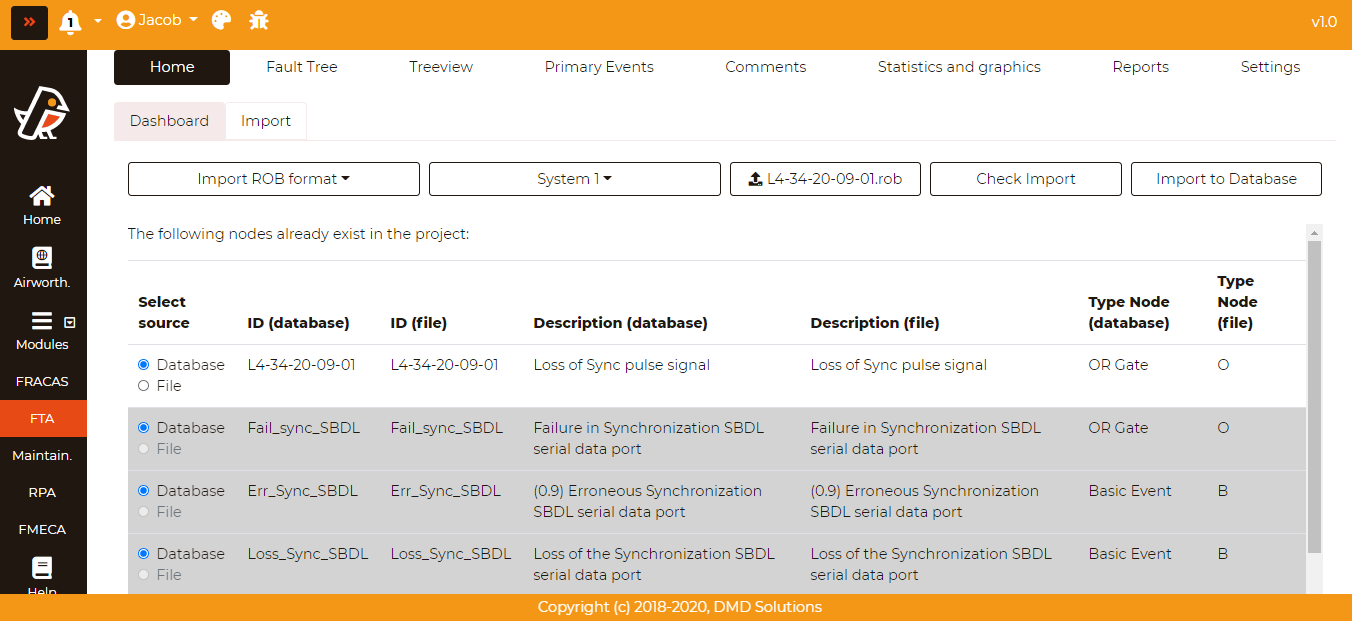
For each node, the user has the option of getting the data from the database or from the file.
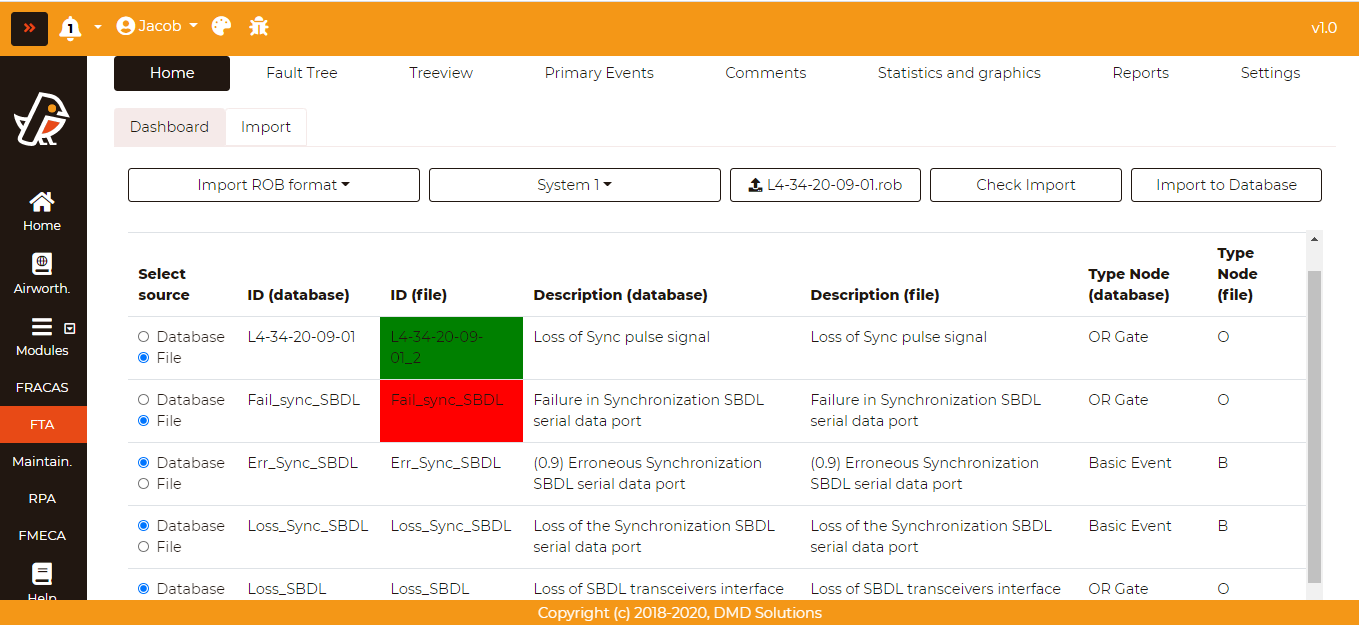
If, for one node, the user chooses the file source, the ID will be highlighted in red to indicate that the ID has to be modified. Then, if the ID is correct (not repeated), it will be highlighted in green. Double-click to change the ID and Enter to confirm the change.
Note
When selecting the file source for a given node, all its children will be enabled. It will be disabled otherwise and the source will be the database.
Click on Import to Database to import the FTs into the system.
Export
To export a FT, enter in the FTA Diagram.
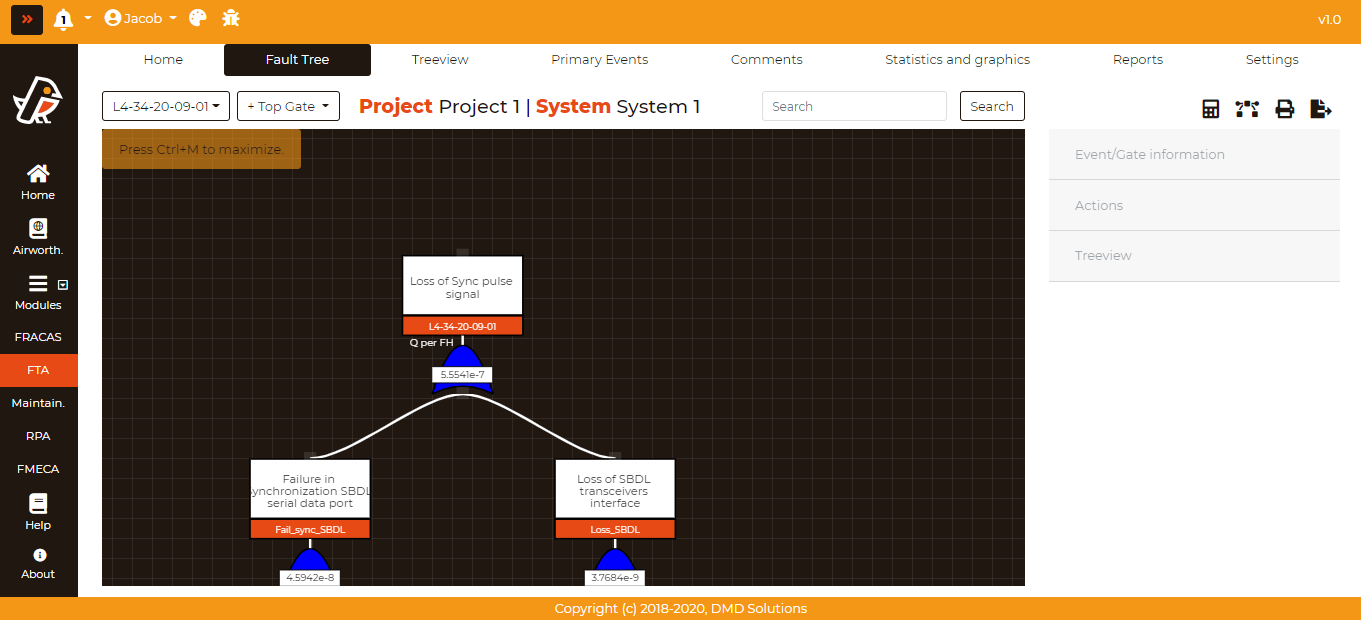
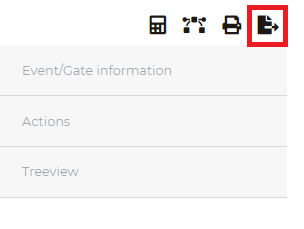
Click on the export icon in the top-right side of the screen.
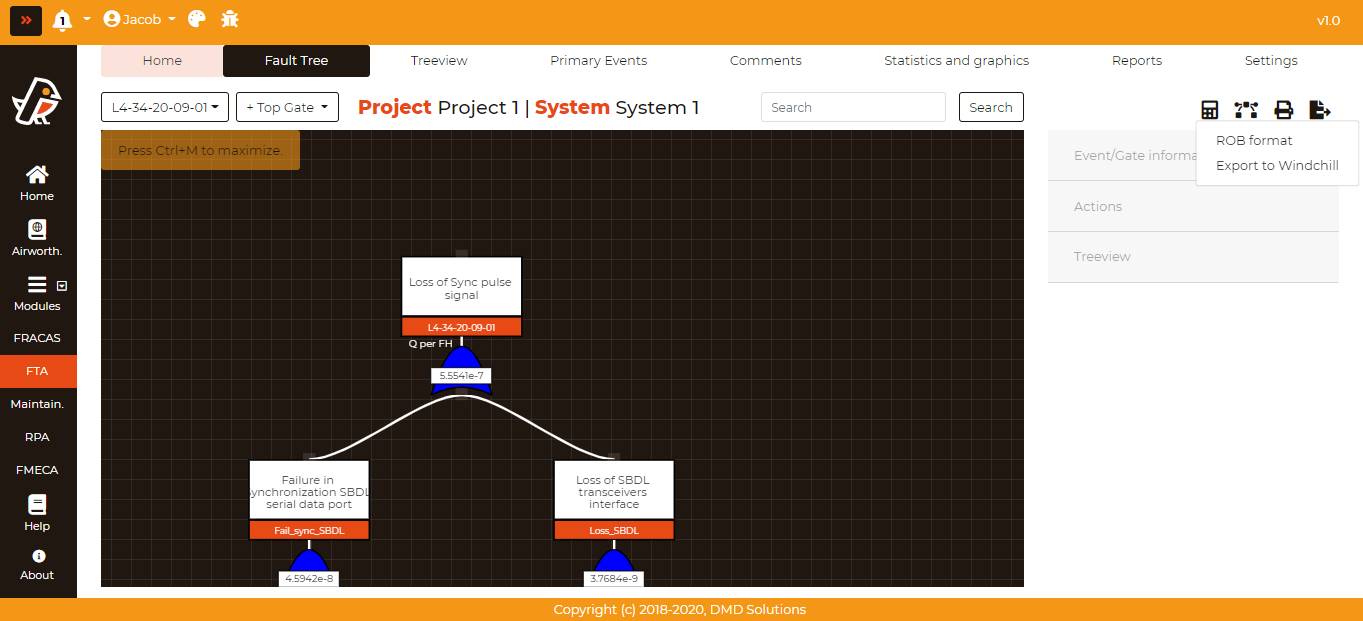
Select the format to export the FT: Robin format (.ROB), Windchill format (.XML) or Isograph format (.XML)
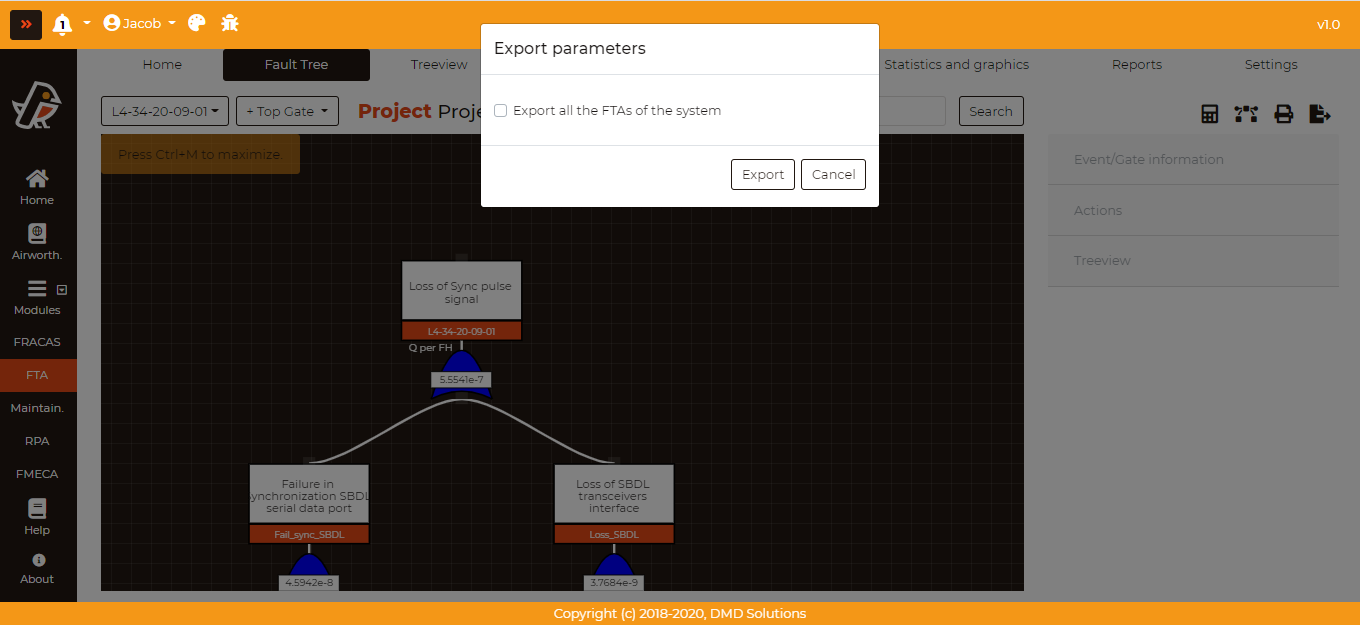
Robin format (.ROB)
This format gives to the user the option to export the current FT or all the FTs of the system.
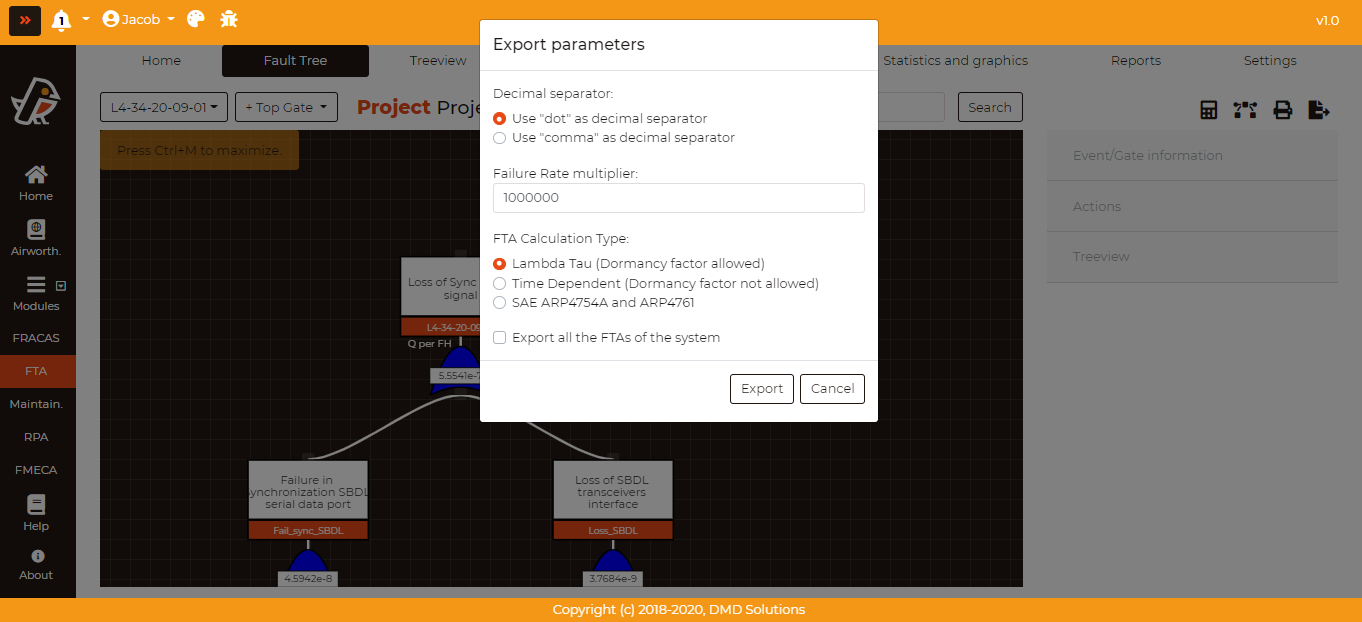
PTC Windchill format (.XML)
This format gives to the user the following options in order to create the file with the same configuration of PTC Windchill.
Isograph format (.XML)
This format gives to the user the option to export the current FT or all the FTs of the system, with
Export all the FTAs of the system. The optionInclude Remark Gatesadds the Remark gates to the file as primary events that do not change the result of the gate they hang from.Note
A Vote gate is exported as a gate of type
VOTEwith its value of K, also when it is repeated in the FT or folded in a Transfer gate. Importing the file back into Robin gives the same Vote gate.Note
When all the FTs are exported, a node that appears in several FTs is one single node in the file, with all its parents. A top event that is also used as a gate in another FT goes below that gate, so it is not a top gate of the file. The nodes of the system that are in no FT are not exported.
Click on the Export button. The file will be downloaded automatically.
Exporting XML File from Isograph
Step |
Description |
Expected Result |
|---|---|---|
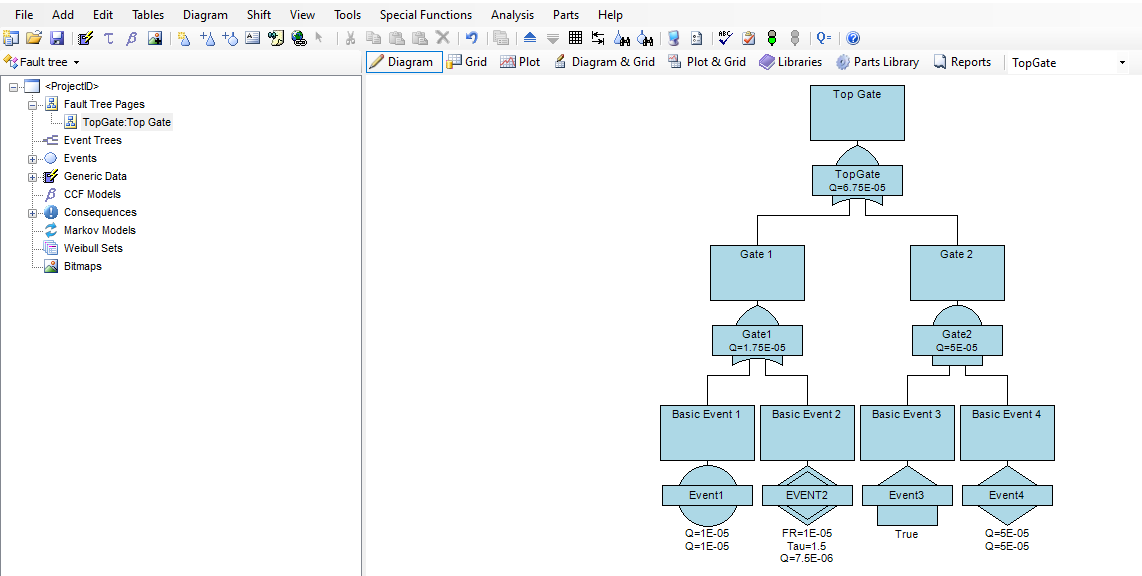
1 |
On the isograph main page, click on “File” in the navigation bar |
|
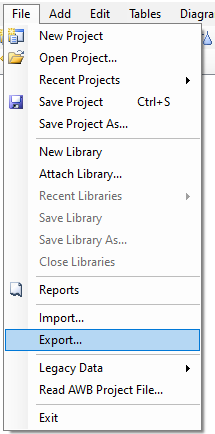
2 |
In the dropdown menu, click on “Export”. |
|
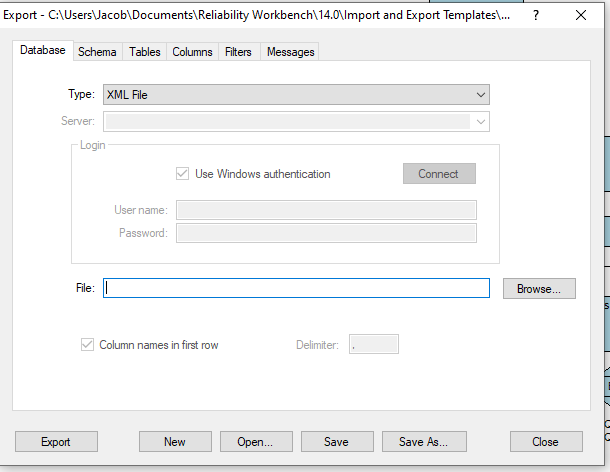
3 |
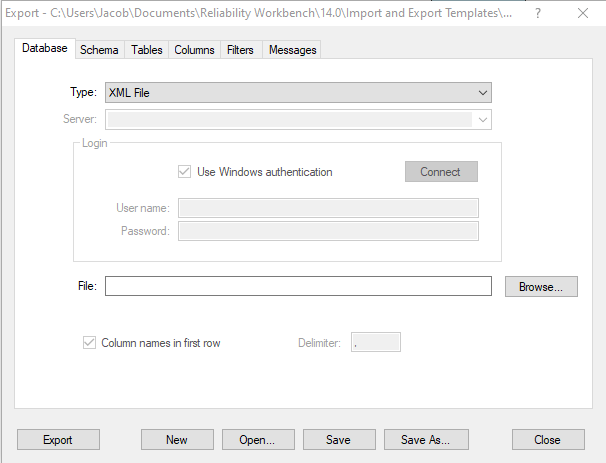
In the export window, in the “Database” tab: - Set the type of file to “XML file”. - Click on “Browser” and select the folder and the name of the file to be saved. |
|
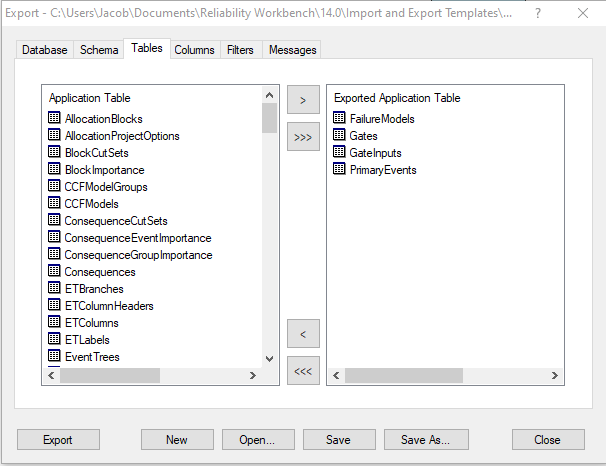
4 |
In the “Tables” tab, select the following tables to be exported:
Click on the “>” to add the tables |
|
5 |
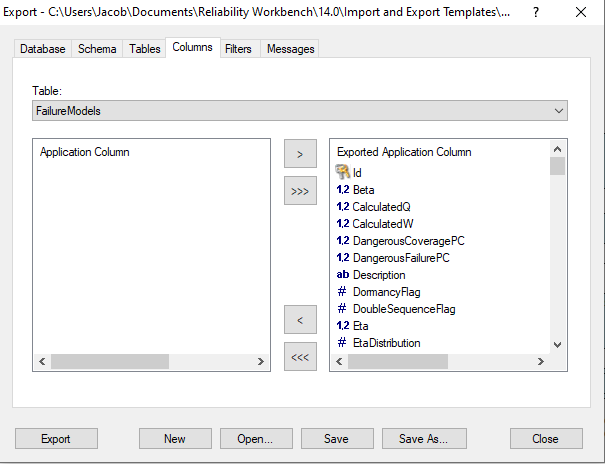
In the “Columns” tab, select each table in the dropdown and add all the columns by clicking “>>>” (All columns must be on the right side) |
|
6 |
The export settings can be saved by clicking “Save” or “Save As…” |
|
7 |
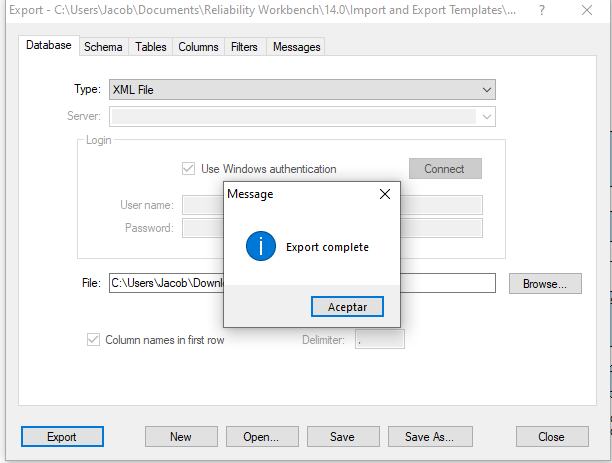
Click “Export” to export the FTA in an XML file |
|
Export XML File from PTC Windchill
Step |
Description |
Expected Result |
|---|---|---|
1 |
Open the FTA model of PTC Windchill |
|
2 |
Select the FT to import |
|
3 |
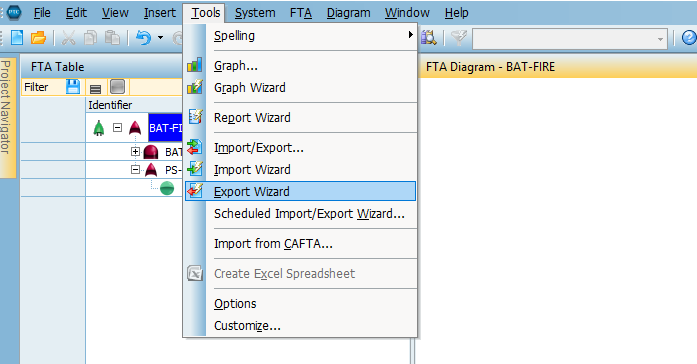
Click on “Tools” -> “Export Wizard”. |
|
4 |
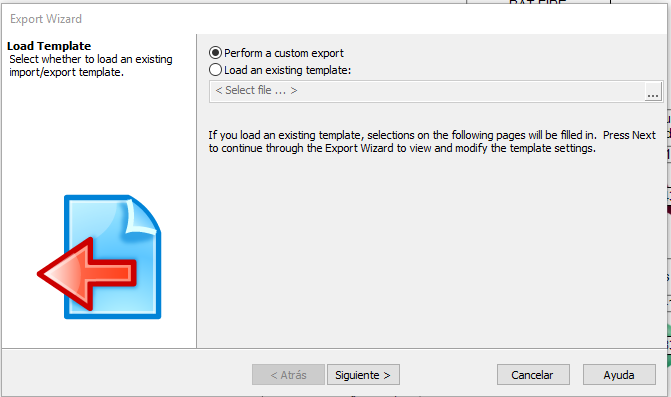
Select “Perform a custom export” or “Load an existing template” if a saved export template is available. Click on “Next”. |
|
5 |
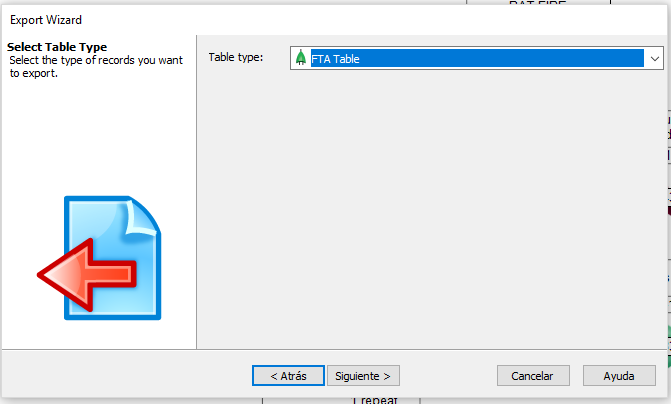
Click “Next”. |
|
6 |
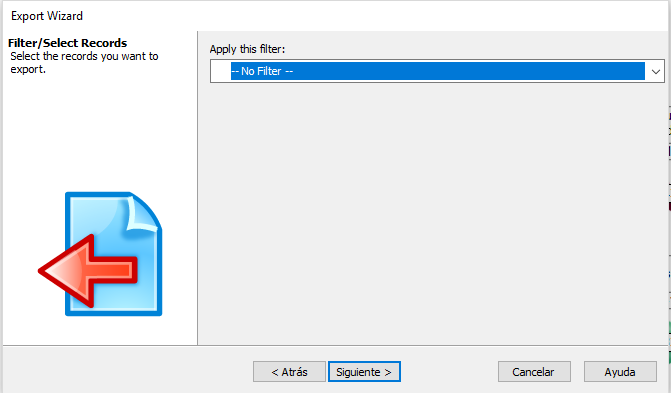
Click “Next”. |
|
7 |
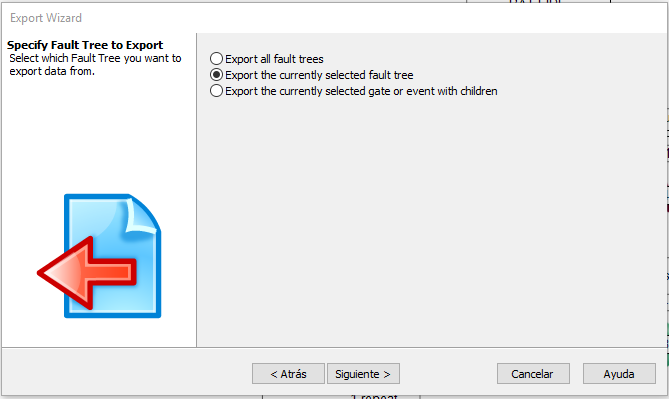
Select “Export the currently selected fault tree” to import the selected fault tree. If only a specific gate has to be exported, select “Export the currently selected gate or event with children”. If all the FTs have to be exported select “Export all fault trees”. |
|
8 |
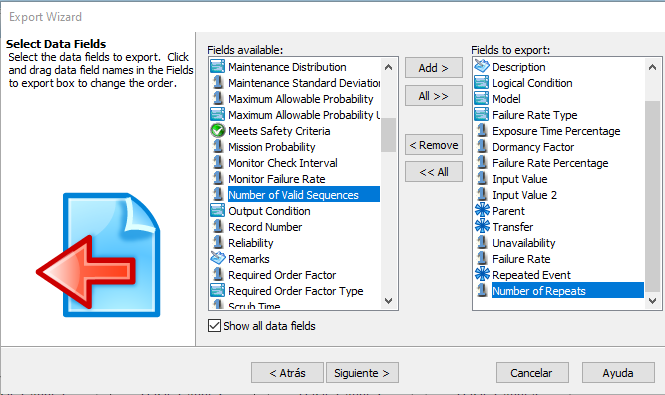
Select the fields that have to be exported. The minimum fields required are: - Identifier - Gate/Event Type - Description - Logical Condition - Model - Failure Rate Type - Exposure Time Percentage - Dormancy factor - Failure Rate Percentage - Input Value - Input Value2 - Parent - Transfer - Unavailability - Failure Rate - Repeated Event - Number of Repeats |
|
9 |
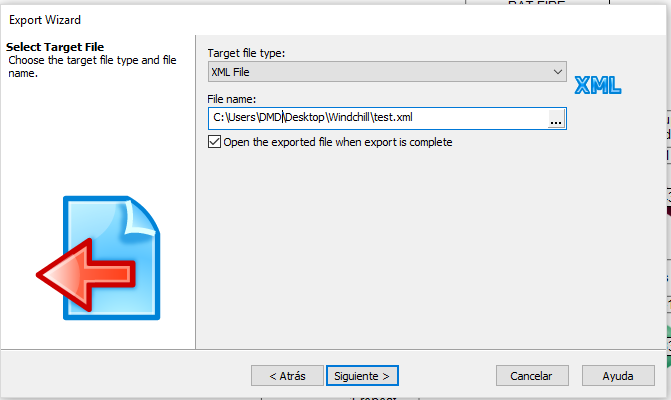
Click “Next”, select the file type “XML”, and type the name of the file |
|
10 |
Click “Next”. |
|
11 |
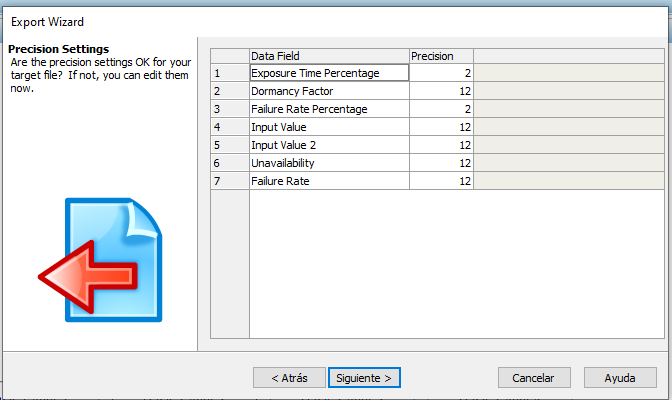
Select the precision of the values, ar least a precision of 9. (It is important to establish high precision values to avoid losing any information during the export) |
|
12 |
Click “Next”. Save the export options in a template to be used in future exports. |
|
13 |
Click “Finish”. |